
What you’ll get
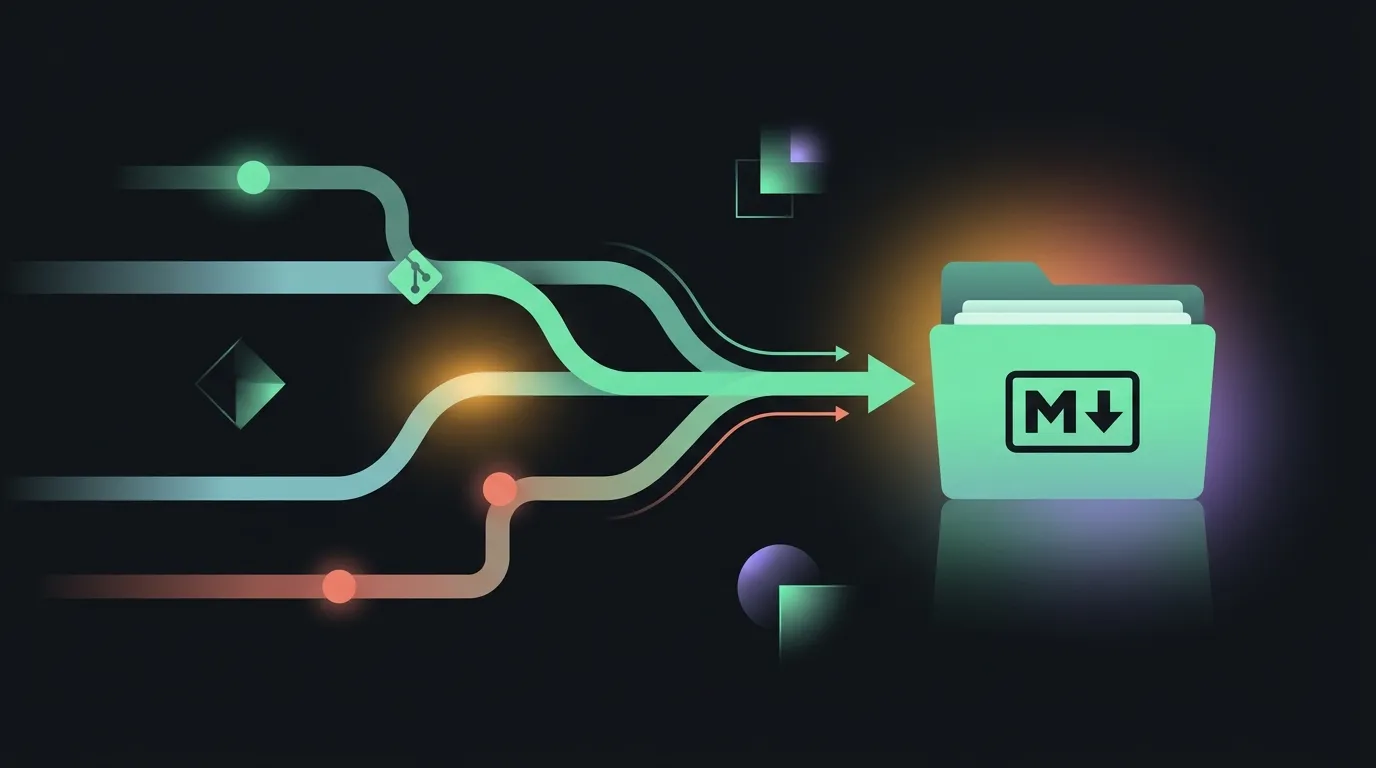
You will configure a private, automated synchronization pipeline that keeps your Obsidian vault updated across multiple computers for free. Setting up this workflow takes about twenty minutes. It avoids the subscription cost of official cloud hosting services while giving you a complete, local version history of your notes database.
I prefer plain-text files and open protocols because they are durable. Relying on a third-party synchronization SaaS means you are one pricing change away from being locked out of your database. By hosting your vault in a private Git repository, your notes remain flat markdown files that you fully own.
Before you start
You need a working installation of Obsidian on your computers. You also need Git installed on your system (run git --version in your terminal to verify). Finally, you will need a GitHub account or another private Git hosting service (such as GitLab or a self-hosted Gitea instance) and a terminal client to initialize the repository.
Steps
1. Initialize Git and add a gitignore
Open your terminal and navigate to the root directory of your Obsidian vault. Run git init to initialize a new local repository.
Before you make your first commit, you must configure a .gitignore file. Create a new file named .gitignore in your vault root and add the following lines:
.obsidian/workspace.json
.obsidian/workspace-mobile.json
.obsidian/cache/
.DS_Store
The workspace.json file records your currently open tabs and sidebar states in the Obsidian application. If you commit this file, you will trigger merge conflict loops every time you switch between computers. Keeping it ignored is critical for your sanity.
2. Configure a private remote repository
Log in to GitHub and create a new repository. Make sure to set the repository visibility to Private to ensure your personal journal entries and notes database are not visible to the public web. Leave the options to add a README or .gitignore unchecked.
Copy the remote repository URL. In your local vault terminal, add the remote repository link and push your initial commit:
git add .
git commit -m "initial notes commit"
git branch -M main
git remote add origin [email protected]:yourusername/your-vault-repo.git
git push -u origin main
Replace yourusername/your-vault-repo with your actual GitHub username and repository name. This command uploads your files to the private cloud, establishing your remote backup.
3. Install and configure the Obsidian Git plugin
Open Obsidian, navigate to Settings > Community plugins, and turn off Safe Mode if you have not done so already. Search for Obsidian Git. Install and enable the plugin.
Open the plugin settings. Set the Vault backup interval to a duration that matches your habits (we recommend thirty or sixty minutes). This tells the plugin to automatically commit and push your changes in the background.
Also, enable the Pull updates on startup setting. This ensures that the vault pulls down any changes made from other devices the moment you open the app, preventing you from writing to stale notes and creating conflicting commits.
Common mistakes
- Committing the workspace file. If you forget to add
workspace.jsonto your.gitignorebefore your first commit, you will encounter merge conflicts constantly. If this happens, rungit rm --cached .obsidian/workspace.jsonin your terminal to remove it from the git index. - Syncing to a public repository by accident. Double-check your repository settings on GitHub to verify the visibility is set to Private. You do not want your raw, unedited thoughts and checklists indexed by public search engines.
- Running parallel sync tools. Running Syncthing or iCloud alongside Git creates file conflict loops. Choose one stable configuration and stick to it. Boring and it works.
Tooling that helps
- Plain daily capture: To see how to get the most value out of a simple daily canvas, read our guide on building a boring daily note. It pairs perfectly with Git synchronization.
- Git credential helper: Make sure to set up a credential helper (like Git Credential Manager) on your operating system. This allows Obsidian to push and pull in the background without prompting you for authentication details.
Wrap-up
Git is not just for code. It is the most reliable, open standard for version control and file synchronization available. By managing your Obsidian vault with a private Git remote, you build a sync pipeline that is secure, free, and fully under your control. Set up your repository, install the plugin, and keep your files independent.